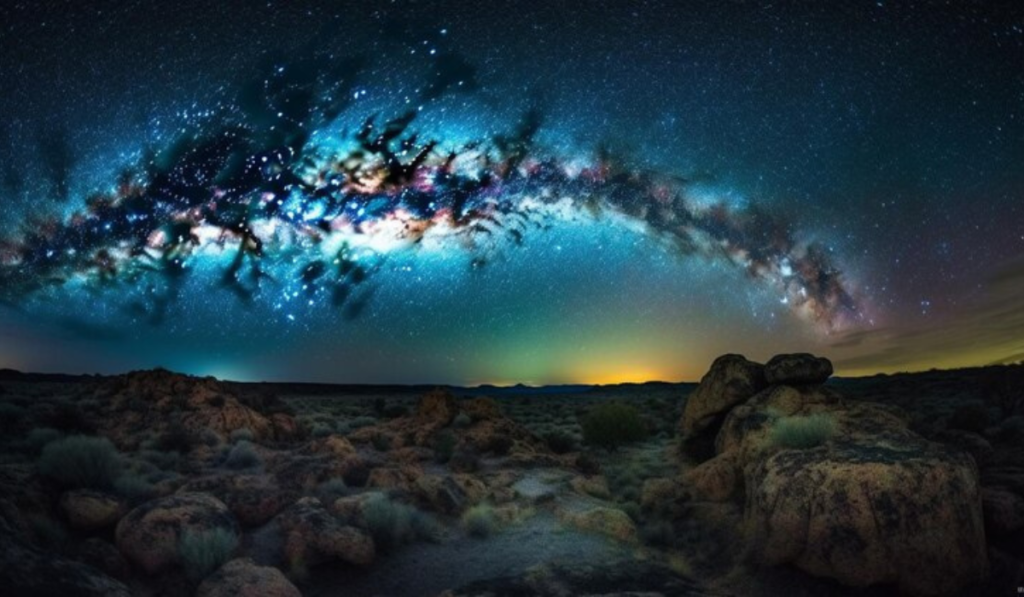
Mastering Milky Way Photography: A Comprehensive Guide

To capture the Milky Way galaxy’s beauty in photographs, you need to do more than point your camera at the sky and press the shutter button. To achieve stunning results, you need to plan carefully, understand your equipment and master various techniques. This comprehensive guide will cover all the information you need to master Milky Way Photography.
Camera Equipment:
You’ll first need to have the right equipment in order to take stunning pictures of the Milky Way. What you’ll Need:
- A sturdy tripod is essential for long exposure shots.
- Camera in Manual Mode: To capture the Milky Way, you will need to control settings such as ISO, shutter speed, aperture and other parameters manually.
- Full-Frame and Wide-Angle Lenses: Although you can capture the Milky Way using any camera, wide-angle lenses and full-frame cameras with large apertures (f/1.4-f/2.8) will perform better in low-light situations.
Preparation and planning:
Planning and preparation are important before you head out to capture the Milky Way. Take into consideration the following factors.
- Moon Phase: Take pictures when the moon has just risen or is below the horizon. This will minimize the light interference.
- Light Pollution: Avoid areas with light pollution to enjoy clearer skies and more brilliant stars.
- Milky Way Alignment – Use the Photographer’s Ephemeris app or Photo Pills to find out where and how aligned your Milky Way is with your shooting location.
- Weather: Make sure to check the forecast for clear skies and optimal shooting conditions.
Focusing Your Lens:
It is important to achieve sharp focus in order to capture the fine details of the Milky Way. How to focus your lens:
- Preset Focus: During the day, you can set your focus to a distant object. You can also use the autofocus feature to focus on the bright moon or star.
- Live View Focusing: Use digital zoom in the live view mode to manually focus a distant light source or a bright star at night.
Camera Settings:
The right camera settings will help you capture stunning Milky Way photos. These guidelines will help you:
- Shoot in RAW – RAW files offer greater flexibility for post-processing, and they preserve more data.
- Wide Aperture: To gather as much as possible, use a wide opening (low f stop).
- Shutter speed: Use the 500 Rule to determine maximum exposure without star trails.
- ISO: Play around with ISO settings until you find the right balance between brightness, noise and ISO.
- White Balance: If shooting RAW, set the white balance to 4,000-5,000K.
Example Settings
Here are some examples of camera settings to capture the Milky Way.
- ISO 6400, 24mm at f/2 for 20s, using a 24mm lens f/1.4
- ISO 6400, f/2.8 at 14mm and 30s using a 14mm lens.
Other Tips
- Practice: Before heading out on a shoot, familiarize yourself with the settings of your camera and how to operate it in low light conditions.
- Avoid Bright Lights and Noise: Respect dark environments.
- Post-Processing Techniques: Enhance the quality of your Milky Way photos by using post-processing methods like noise reduction or image stacking.
Follow-Up:
Join our mailing list to receive exclusive insights and tips on Milky Way Photography.
Conclusion:
To capture stunning images of Milky Way, you need to plan carefully, understand your equipment and master various techniques. Follow the instructions in this guide, and practice regularly to become a master of Milky Way Photography. Explore the night sky with your camera and discover the wonders of our galaxy!


