Mastering Landscape Photography: How to Use a Graduated ND Filter

The graduated neutral density filter (GND) is an essential tool in landscape photography. It allows photographers to achieve the ideal balance between light and dark. The GND filter is a tool that allows photographers to control the dynamic range in scenes with bright skies and dark foregrounds. It’s a combination of technical skill and artistic ability. This guide will explore the science and art of using a graduated neutral density filter to take your landscape photography to a new level.
GND Filters are used for:
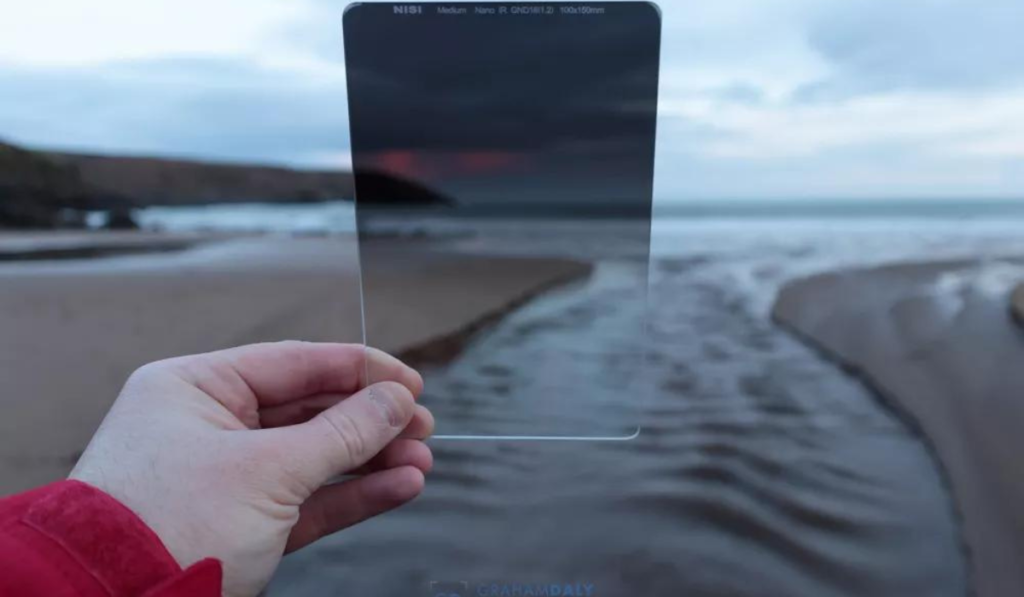
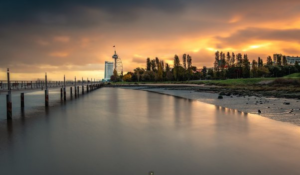
GND filters can be a valuable tool in landscape photography. They help balance the exposure between bright skies, and darker foregrounds. This is often encountered when shooting sunrises or sunsets. These filters allow photographers to capture the details of both the heavens and earth by selectively reducing light intensity entering the camera.
Composition and functionality:
A piece of glass is meticulously divided in two to form the core of a GND. The darker upper segment is used to reduce the brightness of the skies, while the transparent glass at the bottom allows light to pass through. This creates a balanced exposure throughout the frame. The innovative design of this lens allows photographers to blend the contrasting luminosities in the sky and foreground seamlessly, creating images of stunning clarity and beauty.
Types of GND filters:

- Soft Graduated Filter : Provides a gradual transition suitable for a variety of landscapes.
- Hard Graduated Filter : This filter features a rapid transition. It is ideal for scenes that have a straight horizon like seascapes.
- Reverse Graduated filter: Inverts transition, darker toward the middle. Useful for scenarios where the sun is close to the horizon.
- Full Graduated Filter : Tints all surfaces, providing an uninterrupted and long transition. Suitable for ultra-wide angle lenses.
- Center graduated filter: Provides exposure adjustments for specific areas of the frame.
GND Filters are available in the following forms:

- Rectangular: These are preferred for their large area and ability to place horizons precisely. They also allow smooth transitions.
- Screw-On: Easy to carry and ideal for landscapes. However, the surface area is smaller.
Attaching GND filters:
The screw-on filter is easily attached by screwing it onto the threads of the lens. Rectangular filters need a filter holder to ensure optimal alignment and maximum effectiveness.
Correct exposure calculation:
While digital viewfinders can help with exposure evaluation, using the light meter on your camera to manually calculate exposure will ensure accurate results, especially when using GND filter.
Alternatives and Limitations
Digital post-processing and bracketing (HDR), while offering alternatives to GND filters, can present some challenges. For example, there may be alignment issues when moving elements are involved or a discrepancy in tonal range compared to the filters built into cameras.
GND Filters have many advantages:

GND filters are an essential tool for landscape photographers who want to see the effects of their shots in real time. This allows them to make adjustments on-the-fly, saving post-processing time and achieving a more natural result.
Conclusion:
GND filters are still indispensable to landscape photographers despite advances in camera technology. They offer practical benefits while enhancing the photography process. Mastering the use of a graduated ND filters allows photographers to unlock new creative opportunities and capture the beauty of nature with unmatched precision and finesse.


