Mastering Portrait Lighting Patterns: A Comprehensive Guide
In portrait photography, light serves as the artist’s brush, shaping and defining the subjects. In order to create compelling and impactful portraits, you need to understand different lighting patterns. Whether you’re an experienced professional or an aspiring enthusiast, mastering these techniques will elevate your work.
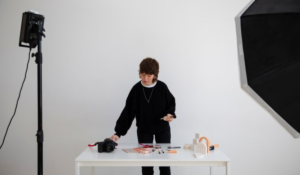
Identifying lighting patterns:
The camera is positioned at 6, facing 12, and the subject is in the middle. Each hour around the clock represents a different position for light sources, determining how shadows fall on a subject. Adapting these patterns to a project’s vision and needs requires experimentation and creativity.
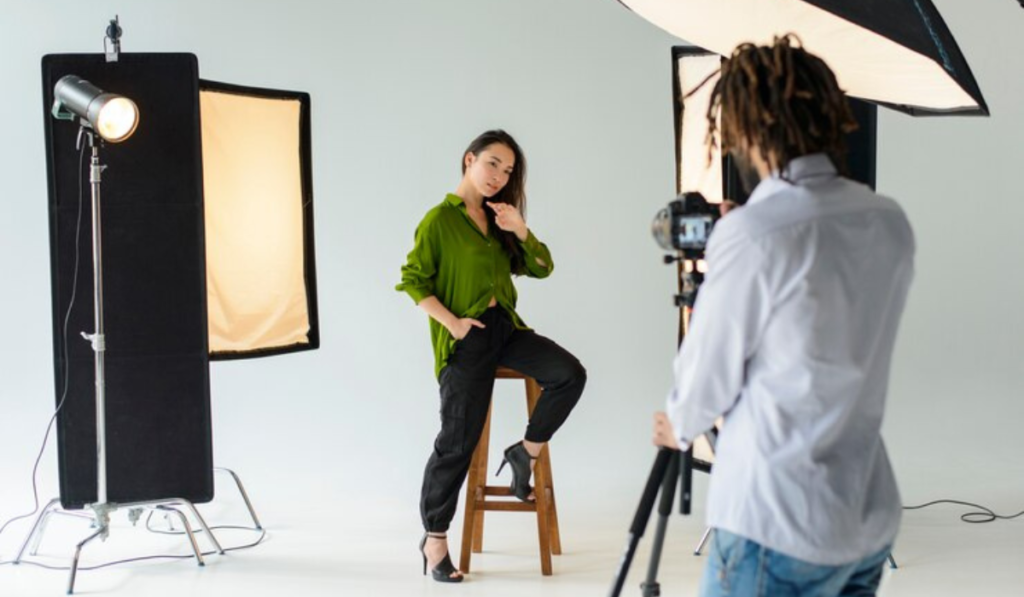
1. Lighting that is split:
-
A dramatic split between lit and shadowed halves of the face.
-
Make sure the light source is perpendicular to the subject and adjust the brightness for contrast.
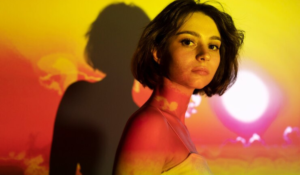
2. Lighting for the backlight or rim:
-
Lighting behind the subject at 12 o’clock that produces rim lighting.
-
The black foam board provides contrast for profile shots.
3. Lighting for butterflies:
-
Under the nose is a butterfly-like shadow created by light that is slightly above and in front of the subject at 6 o’clock.
-
Ensure that your height is adjusted so that there are no dark shadows over your eyes.
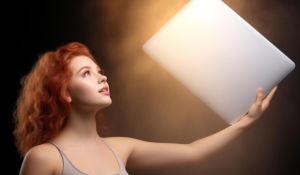
4. Lighting for clamshells:
-
Combining butterfly lighting with a reflector or light underneath for fill.
-
Provides flattering light and softens wrinkles.
5. Lighting loops:
-
Creating subtle shadows on one side of the nose with the main light above eye level at around 5 o’clock or 7 o’clock.
-
In general, most subjects find it pleasing.
6. The Rembrandt Lighting Company:
-
Light close to 4 or 8 o’clock that casts a triangle of light under the eye opposite the main light.
-
Features a captivating and artistic look that can be applied to a variety of subjects.
7. Lighting for short periods:
-
Similar to Rembrandt lighting, the subject turns towards the light, resulting in a slimming effect.
-
Shadows one side of the face while highlighting the other.
8. Lighting with a broad spectrum:
-
The subject turned away from the light, allowing more of the face to be illuminated.
-
Enhances the appearance of various subjects by creating a broader look.
9. Lighting at crossroads:
-
A dramatic, three-dimensional effect is created by placing the main light at 7 to 8 o’clock and the edge light at 1 to 2 o’clock.
-
Image is given depth and dimension by this effect.
In conclusion:
Creating captivating portraits requires mastering these lighting patterns. The key to developing a distinctive photographic style is continuous learning and experimentation. Discover the world of portrait photography by following your creativity and passion.
Author’s bio:
Located in Chicago, John Gress is a renowned commercial photographer and lighting workshop instructor. Inspiring and educating fellow photographers worldwide, John shares his years of experience and expertise in portrait photography.